I can still picture my grandmother’s kitchen, filled with the warm, spicy aroma of pumpkin and cinnamon every Thanksgiving. She always made a huge pumpkin pie, but sometimes, for a change of pace, she’d whip up a batch of something even better: Pumpkin Pie Bars! The ease of these bars, combined with that classic pumpkin pie flavor, makes them a perfect treat for any fall gathering. Today, I’m sharing all my secrets for the most amazing Pumpkin Pie Bars you’ll ever make!
Why You’ll Absolutely Adore These Pumpkin Pie Bars

Okay, friends, let’s talk about why these Pumpkin Pie Bars are about to become your new go-to fall dessert. Forget fussing with pie crusts (though I love a good pie!), these bars offer all the comforting flavor of pumpkin pie in a much simpler, quicker, and, dare I say, more portable format. They’re perfect for potlucks, Thanksgiving gatherings, or just a cozy night in with a cup of tea. And honestly, who can resist that creamy pumpkin filling nestled on top of a buttery, slightly crumbly crust? Not me!
These aren’t your average pumpkin bars. We’re talking about a symphony of flavors and textures that will have everyone begging for the recipe. The crust is perfectly balanced – not too sweet, not too crumbly, just right. And the filling? Oh, the filling! It’s rich, decadent, and bursting with warm spices that scream “autumn.” Plus, they’re incredibly easy to make, even for baking newbies. Trust me, if I can do it, you can too!
What Makes These Bars So Special?
- The Crust: A buttery, slightly sweet, and perfectly crumbly base that complements the creamy filling.
- The Filling: A rich and spiced pumpkin custard that’s smooth, decadent, and bursting with fall flavor.
- The Ease: No finicky pie crusts or complicated techniques required!
- The Portability: Perfect for parties, potlucks, and on-the-go snacking.
- The “Wow” Factor: They look and taste like you spent hours in the kitchen, but they’re secretly super easy to make.
The Ultimate Pumpkin Pie Bars Recipe
Alright, let’s get down to business! Here’s everything you need to create these amazing Pumpkin Pie Bars. Don’t be intimidated by the ingredient list; it’s mostly pantry staples, and the process is surprisingly straightforward.
Ingredients:
For the Crust:
- 1 ½ cups all-purpose flour
- ½ cup (1 stick) cold unsalted butter, cut into cubes
- ¼ cup granulated sugar
- ¼ teaspoon salt
- 4-6 tablespoons ice water
For the Filling:
- 1 (15-ounce) can pumpkin puree (not pumpkin pie filling!)
- 1 (14-ounce) can sweetened condensed milk
- 2 large eggs
- 1 teaspoon pumpkin pie spice
- ½ teaspoon ground cinnamon
- ¼ teaspoon ground ginger
- ¼ teaspoon ground cloves
- ¼ teaspoon salt
Instructions:
- Prepare the Crust: In a large bowl, whisk together the flour, sugar, and salt.
- Cut in the Butter: Add the cold, cubed butter to the flour mixture. Use a pastry blender or your fingertips to cut the butter into the flour until the mixture resembles coarse crumbs. You should still see small pieces of butter.
- Add Ice Water: Gradually add the ice water, one tablespoon at a time, mixing lightly after each addition. Stop adding water when the dough just comes together. Don’t overmix!
- Form the Dough: Gently press the dough into a disc, wrap it in plastic wrap, and refrigerate for at least 30 minutes. This chilling step is crucial for a tender crust.
- Preheat and Prep: Preheat your oven to 350°F (175°C). Grease and lightly flour a 9×13 inch baking pan. Alternatively, line the pan with parchment paper, leaving an overhang on the sides for easy removal.
- Roll Out the Crust: On a lightly floured surface, roll out the chilled dough to fit the bottom of the prepared baking pan.
- Transfer to Pan: Carefully transfer the rolled-out dough to the baking pan and press it evenly into the bottom and slightly up the sides.
- Pre-Bake the Crust: Prick the crust all over with a fork to prevent it from puffing up during baking. Bake for 12-15 minutes, or until lightly golden brown. Let cool slightly while you prepare the filling.
- Make the Filling: In a large bowl, whisk together the pumpkin puree, sweetened condensed milk, eggs, pumpkin pie spice, cinnamon, ginger, cloves, and salt until smooth and well combined. The mixture should be a beautiful, vibrant orange color.
- Pour Filling into Crust: Pour the pumpkin filling evenly over the pre-baked crust.
- Bake the Bars: Bake for 30-35 minutes, or until the filling is set and the edges are slightly golden brown. The center might still jiggle slightly, but it will firm up as it cools.
- Cool Completely: Let the bars cool completely in the pan on a wire rack before cutting and serving. This is important! The filling needs time to set properly.
- Chill (Optional): For even cleaner cuts and a firmer filling, chill the bars in the refrigerator for at least an hour before serving.
- Serve and Enjoy: Cut the bars into squares and serve. You can dust them with powdered sugar, top them with whipped cream, or enjoy them plain. They’re delicious any way you slice them!
Success Tips for Perfect Pumpkin Pie Bars
Okay, friend, listen up! These are my top secret tips that will guarantee your Pumpkin Pie Bars turn out absolutely perfect every single time. Trust me, these little details make all the difference.
- Cold Butter is Key: Using cold butter in the crust is essential for creating flaky layers. The colder the butter, the better! I sometimes even pop my cubed butter in the freezer for 10-15 minutes before using it.
- Don’t Overmix the Crust: Overmixing the crust dough will develop the gluten in the flour, resulting in a tough crust. Mix just until the dough comes together.
- Pre-Bake the Crust: Pre-baking the crust prevents it from becoming soggy when you add the filling. It also gives it a nice golden color and a slightly crisp texture.
- Don’t Overbake the Filling: Overbaking the filling will result in a cracked and dry surface. The filling should be set around the edges but still slightly jiggly in the center when you remove it from the oven. It will continue to set as it cools.
- Cool Completely: This is the most important step! Letting the bars cool completely allows the filling to set properly. If you try to cut them while they’re still warm, they’ll be messy and the filling will be runny.
Variations and Customizations
Want to put your own spin on these Pumpkin Pie Bars? Go for it! Here are a few ideas to get you started.
- Add Chocolate Chips: Stir ½ cup of chocolate chips into the pumpkin filling for a chocolatey twist.
- Top with Streusel: Create a simple streusel topping by combining flour, oats, brown sugar, and butter. Sprinkle it over the filling before baking for a crunchy topping.
- Add a Cream Cheese Swirl: Beat together cream cheese, sugar, and vanilla extract. Dollop spoonfuls of the cream cheese mixture over the pumpkin filling and swirl it with a knife or toothpick for a marbled effect.
- Spice it Up: For extra warmth, add a pinch of ground nutmeg or cardamom to the filling.
- Nutty Goodness: Sprinkle chopped pecans or walnuts over the crust before adding the filling for a nutty crunch.
Serving Suggestions
These Pumpkin Pie Bars are delicious on their own, but here are a few serving suggestions to take them to the next level.
- Whipped Cream: A dollop of homemade whipped cream is the perfect complement to the rich pumpkin filling.
- Powdered Sugar: Dust the bars with powdered sugar for a simple and elegant presentation.
- Caramel Sauce: Drizzle with caramel sauce for an extra decadent treat.
- Vanilla Ice Cream: Serve warm with a scoop of vanilla ice cream for a comforting dessert.
- Coffee or Tea: Pair with a warm cup of coffee or tea for a cozy afternoon treat.
Make-Ahead and Storage Instructions
Good news! These Pumpkin Pie Bars are perfect for making ahead of time. Here’s how to store them and prepare them in advance.
- Storage: Store the cooled bars in an airtight container in the refrigerator for up to 3-4 days.
- Make-Ahead: You can make the crust dough up to 2 days in advance. Wrap it tightly in plastic wrap and store it in the refrigerator. You can also bake the crust a day ahead and store it at room temperature.
- Freezing: Freeze the baked bars for up to 2-3 months. Wrap them individually in plastic wrap and then place them in a freezer-safe container. Thaw in the refrigerator overnight before serving.
Other Delicious Pumpkin Recipes You’ll Love
If you’re a pumpkin fanatic like me, you’re always on the lookout for new and exciting pumpkin recipes. Here are a few of my other favorites:
Final Thoughts
So, there you have it! My ultimate guide to making the most delicious Pumpkin Pie Bars you’ve ever tasted. I hope you’ll give this recipe a try and share it with your friends and family. Remember, baking is all about having fun and creating memories. So, crank up the music, put on your apron, and get ready to bake up some fall magic! Happy baking!
What makes these pumpkin pie bars different from regular pumpkin pie?
These bars are easier and quicker to make than pumpkin pie, as they don’t require fussing with a pie crust. They are also more portable and offer the same comforting pumpkin pie flavor in a simpler format.
Can I make the pumpkin pie bars ahead of time?
Yes, you can make the crust dough up to 2 days in advance, storing it in the refrigerator. You can also bake the crust a day ahead and store it at room temperature. The baked bars can be stored in the refrigerator for 3-4 days or frozen for 2-3 months.
What are some variations I can try with these pumpkin pie bars?
You can add chocolate chips to the filling, create a streusel topping, add a cream cheese swirl, spice it up with nutmeg or cardamom, or add chopped nuts to the crust.
Why is it important to cool the bars completely before cutting them?
Cooling the bars completely allows the filling to set properly. If you cut them while they are still warm, the filling will be messy and runny.

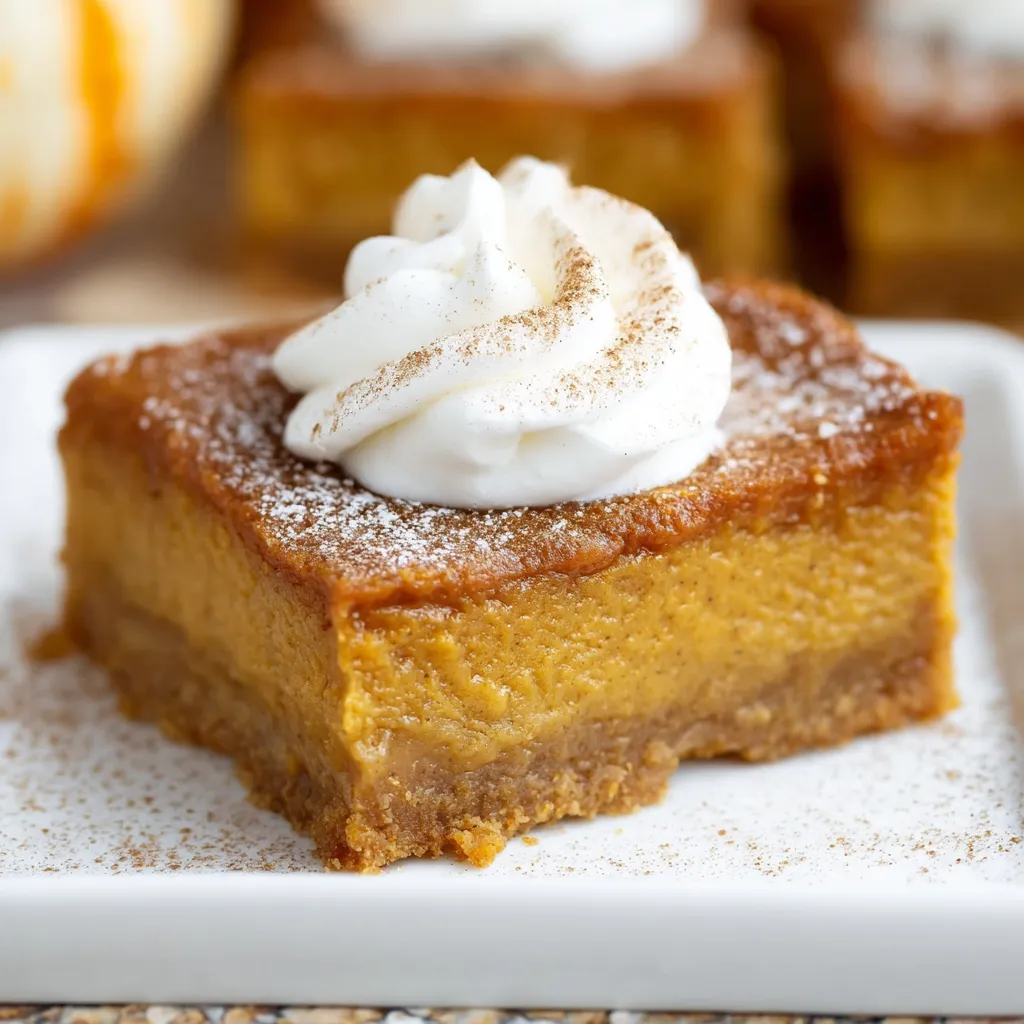
Best Ever Pumpkin Pie Bars
![]()
These Pumpkin Pie Bars offer the comforting flavor of pumpkin pie in a simple, quick, and portable format, perfect for fall gatherings. A buttery, slightly sweet crust complements the rich, spiced pumpkin custard filling, creating a symphony of flavors and textures that will have everyone begging for the recipe.
-
Large bowl
-
Whisk
-
Pastry blender or fingertips
-
Plastic Wrap
-
9×13 inch baking pan
-
Parchment paper (optional)
-
Rolling Pin
-
Fork
-
Wire rack
-
Measuring cups and spoons
-
Oven
- 1 ½ cups all-purpose flour
- ¼ cup granulated sugar
- ¼ teaspoon salt
- 4-6 tablespoons ice water
- 2 large eggs
- 1 teaspoon pumpkin pie spice
- ½ teaspoon ground cinnamon
- ¼ teaspoon ground ginger
- ¼ teaspoon ground cloves
- ¼ teaspoon salt
- Powdered sugar optional, for dusting
- Whipped cream optional, for topping
- Caramel sauce optional, for drizzling
- Vanilla ice cream optional, for serving
-
In a large bowl, whisk together the flour, sugar, and salt.
-
Add the cold, cubed butter to the flour mixture. Use a pastry blender or your fingertips to cut the butter into the flour until the mixture resembles coarse crumbs. You should still see small pieces of butter.
-
Gradually add the ice water, one tablespoon at a time, mixing lightly after each addition. Stop adding water when the dough just comes together. Don’t overmix!
-
Gently press the dough into a disc, wrap it in plastic wrap, and refrigerate for at least 30 minutes. This chilling step is crucial for a tender crust.
-
Preheat your oven to 350°F (175°C). Grease and lightly flour a 9×13 inch baking pan. Alternatively, line the pan with parchment paper, leaving an overhang on the sides for easy removal.
-
On a lightly floured surface, roll out the chilled dough to fit the bottom of the prepared baking pan.
-
Carefully transfer the rolled-out dough to the baking pan and press it evenly into the bottom and slightly up the sides.
-
Prick the crust all over with a fork to prevent it from puffing up during baking. Bake for 12-15 minutes, or until lightly golden brown. Let cool slightly while you prepare the filling.
-
In a large bowl, whisk together the pumpkin puree, sweetened condensed milk, eggs, pumpkin pie spice, cinnamon, ginger, cloves, and salt until smooth and well combined. The mixture should be a beautiful, vibrant orange color.
-
Pour the pumpkin filling evenly over the pre-baked crust.
-
Bake for 30-35 minutes, or until the filling is set and the edges are slightly golden brown. The center might still jiggle slightly, but it will firm up as it cools.
-
Let the bars cool completely in the pan on a wire rack before cutting and serving. This is important! The filling needs time to set properly.
-
For even cleaner cuts and a firmer filling, chill the bars in the refrigerator for at least an hour before serving.
-
Cut the bars into squares and serve. You can dust them with powdered sugar, top them with whipped cream, or enjoy them plain. They’re delicious any way you slice them!
For the flakiest crust, ensure the butter is very cold. Consider freezing the cubed butter for 10-15 minutes before using. Avoid overmixing the crust dough to prevent a tough crust. Cool the bars completely before cutting to allow the filling to set properly. For a richer flavor, use high-quality pumpkin pie spice. These bars can be stored in an airtight container in the refrigerator for up to 3-4 days. For freezing, wrap the baked bars individually in plastic wrap and then place them in a freezer-safe container for up to 2-3 months. Thaw in the refrigerator overnight before serving. Add chocolate chips, streusel topping, or a cream cheese swirl for variations.